SSO
OAuth2.0 and OIDC (PKCE)
LangSmith Self-Hosted provides SSO via OAuth2.0 and OIDC. Once configured, this will delegate authentication to your Identity Provider(IdP) to manage access to LangSmith.
Our implementation supports almost anything that is OIDC compliant, with a few exceptions.
Requirements
There are a couple of requirements for using OAuth SSO with LangSmith:
- Your IdP must support the
Authorization Code with PKCEflow (Google does not support this flow for example, but see below for an alternative configuration that Google supports). This is often displayed in your OAuth Provider as configuring a "Single Page Application (SPA)" - Your IdP must support using an external discovery/issuer URL. We will use this to fetch the necessary routes and keys for your IdP.
- You must provide the
OIDC,email, andprofilescopes to LangSmith. We use these to fetch the necessary user information and email for your users. - You will need to set the callback URL in your IdP to
http://<host>/oauth-callback, where host is the domain or IP you have provisioned for your LangSmith instance. This is where your IdP will redirect the user after they have authenticated. - You will need to provide the
oauthClientIdandoauthIssuerUrlin yourvalues.yamlfile. This is where you will configure your LangSmith instance.
- Helm
- Docker
config:
  oauth:
    enabled: true
    oauthClientId: <YOUR CLIENT ID>
    oauthIssuerUrl: <YOUR DISCOVERY URL>
# In your .env file
AUTH_TYPE=oauth
OAUTH_CLIENT_ID=your-client-id
OAUTH_ISSUER_URL=https://your-issuer-url
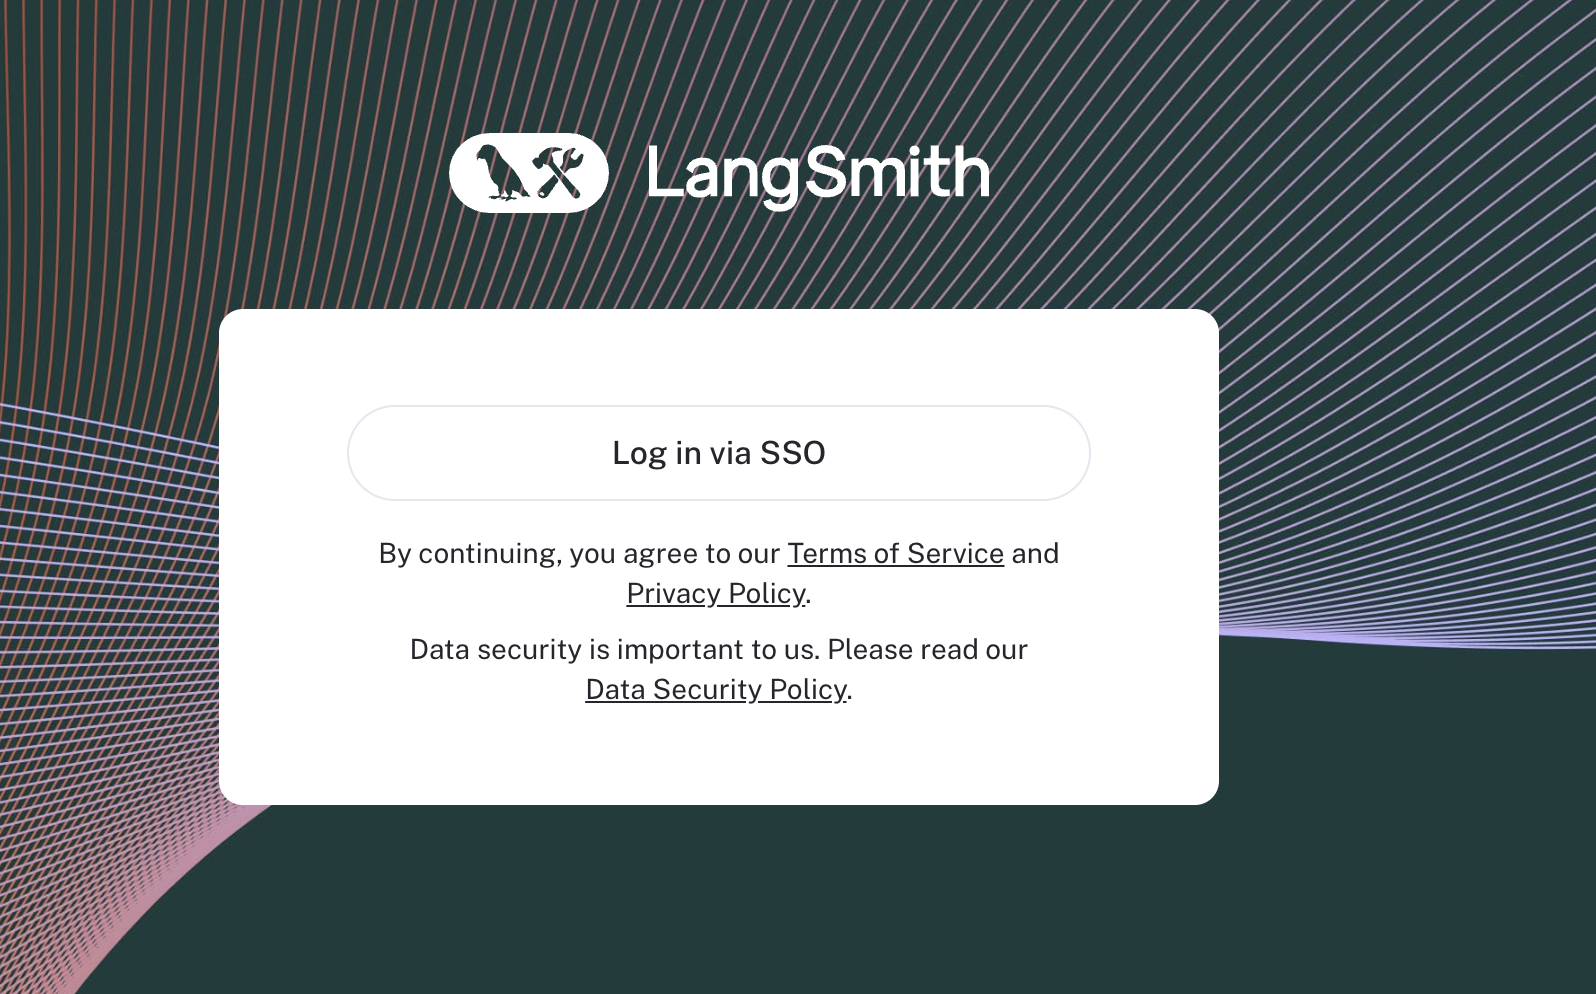
Once configured, you will see a login screen like this:

OAuth2.0 and OIDC (without PKCE)
For providers that do not support Authorization Code with PKCE, LangSmith Self-Hosted supports the Autorization Code flow with a Client Secret.
Requirements
You may upgrade a basic auth installation to this mode, but not a none auth installation. In order to upgrade, simply remove the basic auth configuration and add the required configuration parameters as shown below. Users may then login via OAuth only.
LangSmith does not support moving from SSO to basic auth mode in self-hosted at the moment.
- Your IdP must support the
Authorization Codeflow without PKCE. - Your IdP must support using an external discovery/issuer URL. We will use this to fetch the necessary routes and keys for your IdP.
- You must provide the
OIDC,email, andprofilescopes to LangSmith. We use these to fetch the necessary user information and email for your users. - You will need to set the callback URL in your IdP to
http://<host>/api/v1/oauth/custom-oidc/callback, where host is the domain or IP you have provisioned for your LangSmith instance. This is where your IdP will redirect the user after they have authenticated. - You will need to provide the
oauthClientId,oauthClientSecret,hostname, andoauthIssuerUrlin yourvalues.yamlfile. This is where you will configure your LangSmith instance.
- Helm
- Docker
config:
  authType: mixed
  hostname: https://langsmith.example.com
  oauth:
    enabled: true
    oauthClientId: <YOUR CLIENT ID>
    oauthClientSecret: <YOUR CLIENT SECRET>
    oauthIssuerUrl: <YOUR DISCOVERY URL>
# In your .env file
AUTH_TYPE=mixed
LANGSMITH_URL=https://langsmith.example.com
OAUTH_CLIENT_ID=your-client-id
OAUTH_CLIENT_SECRET=your-client-secret
OAUTH_ISSUER_URL=https://your-issuer-url
Identity Provider (IdP) Setup
Google Workspace
You can use Google Workspace as a single sign-on (SSO) provider using OAuth2.0 and OIDC without PKCE.
You must have administrator-level access to your organization’s Google Cloud Platform (GCP) account to create a new project, or permissions to create and configure OAuth 2.0 credentials for an existing project. We recommend that you create a new project for managing access, since each GCP project has a single OAuth consent screen.
- Create a new GCP project, see the Google documentation topic creating and managing projects
- After you have created the project, open the Credentials page in the Google API Console (making sure the project in the top left corner is correct)
- Create new credentials:
Create Credentials → OAuth client ID - Choose
Web applicationas theApplication typeand enter a name for the application e.g.LangSmith - In
Authorized Javascript originsput the domain of your LangSmith instance e.g.https://langsmith.yourdomain.com - In
Authorized redirect URIsput the domain of your LangSmith instance followed by/api/v1/oauth/custom-oidc/callbacke.g.https://langsmith.yourdomain.com/api/v1/oauth/custom-oidc/callback - Click
Create, then download the JSON or copy and save theClient ID(ends with.apps.googleusercontent.com) andClient secretsomewhere secure. You will be able to access these later if needed. - Select
OAuth consent screenfrom the navigation menu on the left- Choose the Application type as
Internal. If you selectPublic, anyone with a Google account can sign in. - Enter a descriptive
Application name. This name is shown to users on the consent screen when they sign in. For example, useLangSmithor<organization_name> SSO for LangSmith. - Verify that the Scopes for Google APIs only lists email, profile, and openid scopes. Only these scopes are required for single sign-on. If you grant additional scopes it increases the risk of exposing sensitive data.
- Choose the Application type as
- (Optional) control who within your organization has access to LangSmith: https://admin.google.com/ac/owl/list?tab=configuredApps. See Google's documentation for additional details.
- Configure LangSmith to use this OAuth application. For examples, here are the
configvalues that would be used for Kubernetes configuration:oauthClientId:Client ID(ends with.apps.googleusercontent.com)oauthClientSecret:Client secrethostname: the domain of your instance e.g.https://langsmith.yourdomain.com(no trailing slash)oauthIssuerUrl:https://accounts.google.comoauth.enabled:trueauthType:mixed